Today I find some useful info about...
Sunday, July 14, 2013
Friday, July 5, 2013
RAMPS GADGETS3D LCD and SHIELD v1.0
I want to have ability to run my ALF3Dpi without PC. That's why I need this thing...
Configurations and info HERE
It consists of two main pieces and wires
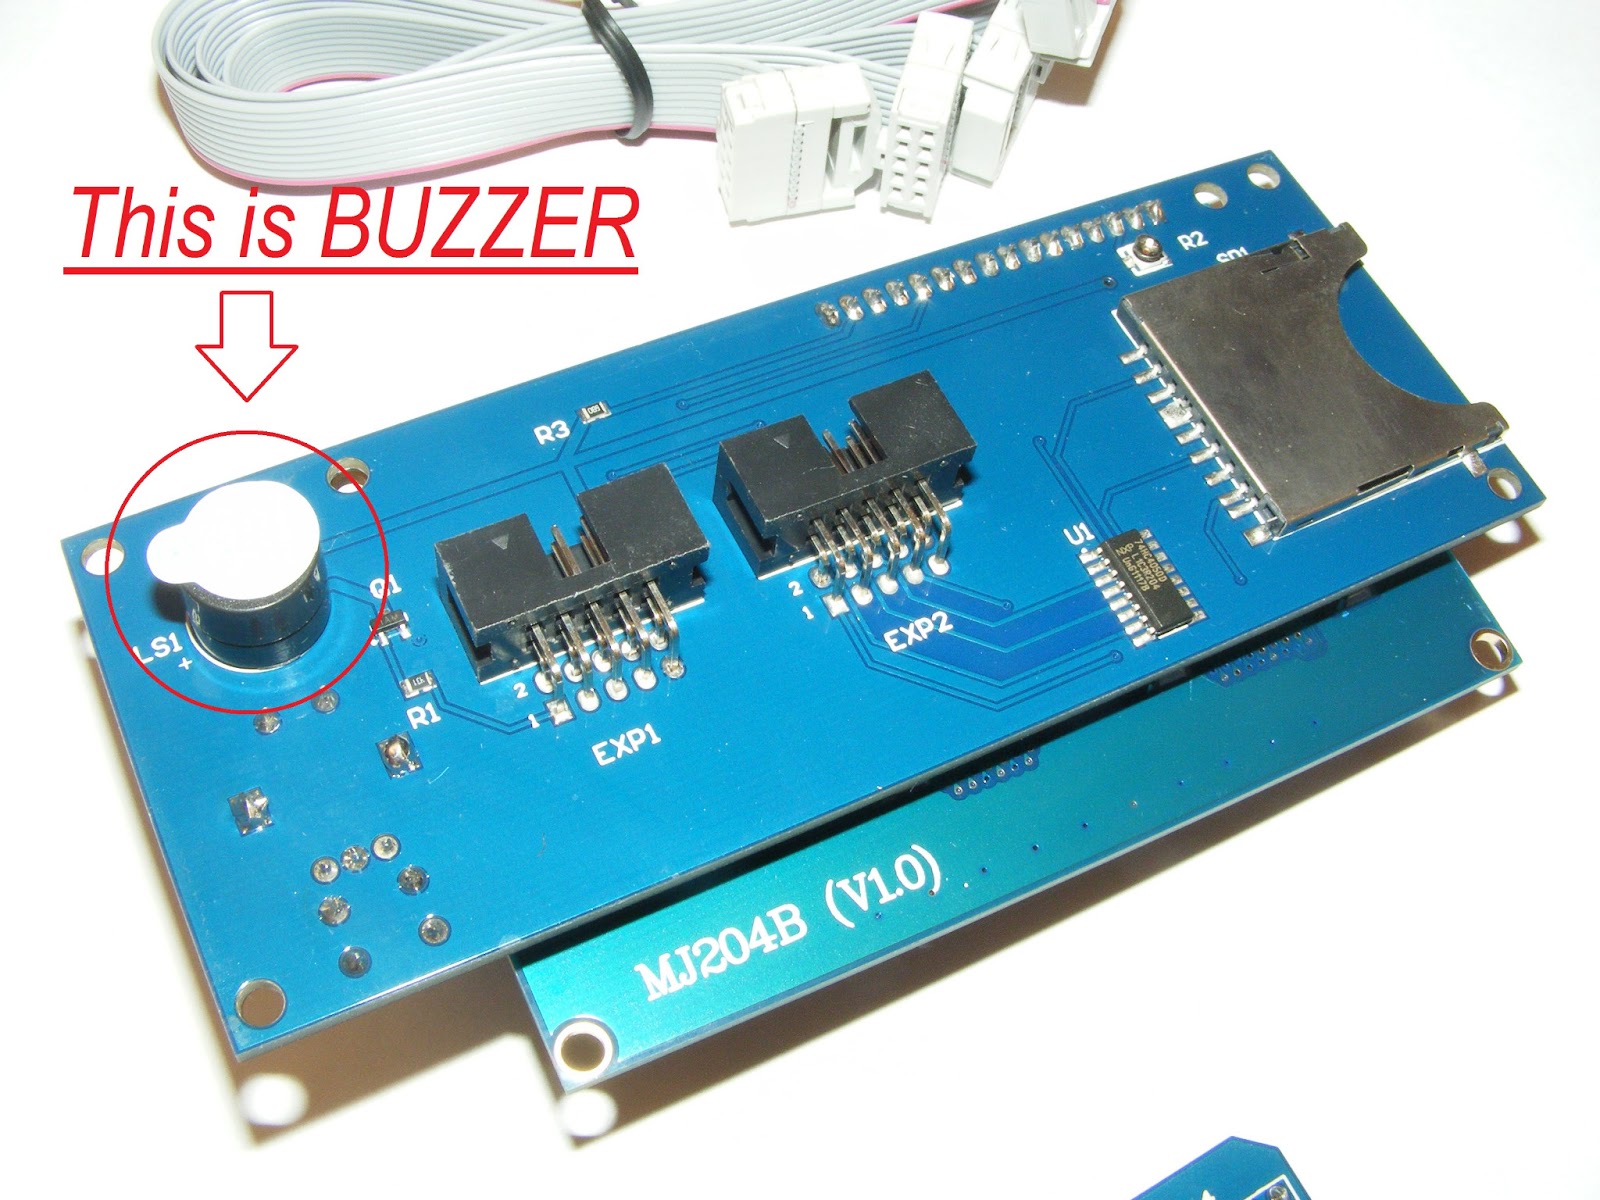
1. LCD with SD card connector
2. Shield for connecting it to Arduini through RAMPS
and as I said there 2 10pin cables with it (there also was SD card with kit)
Now lets attach them togather
First step is assembling shield with RAMPS
Second step is defining correspondings connectors EXP1 and EXP2 on shield and LCD
And the third sted is connecting them to each other
Now can use SD card
Completed and ready to go
PS I found some sticker on LCD it is Buzzer
And CAD model from GRABCAD
To be continued...
Arduino MEGA 2560 + RAMPS 1.4.... first blood
I tried to attach my Arduino with my RAMPS and what I have seen....(
Soldered pin on RAMPS don't let them come togather(
Need to work with file and remove it gently as I can.
Soldered pin on RAMPS don't let them come togather(
Need to work with file and remove it gently as I can.
SDRamps for RAMPS 1.3/1.4
In kit that I bought was included this thing
This is the way to connect it to RAMPS
As you can see not all pins on SDRamps are used.
But because I will use RAMPS GADGETS3D LCD and SHIELD v1.0. I don't need them this time.
This is the way to connect it to RAMPS
But because I will use RAMPS GADGETS3D LCD and SHIELD v1.0. I don't need them this time.
Pololu stepper driver board A4988 rev1
Stepper motor dravers, that my Arduini runs trough RAMPS is Pololu A4988 chib based.
I have 5 of them...
Stepper driver board information about my drivers I founr HERE
This is modifications of original board. One of resistors was changed on resistor which I can adjust to change motor current. But in general it's the same.
This is wiring diagram
And jumper settings (jumpers are on RAMPS board).
Want to say that this board must be installed in RAMPS this way
BUT NEVER THIS WAY!!!
Subscribe to:
Posts (Atom)


